
New Year Day Walk 2024
4.3 miles Leader Howard A.
Weather 8°C Fine
No. on walk 21
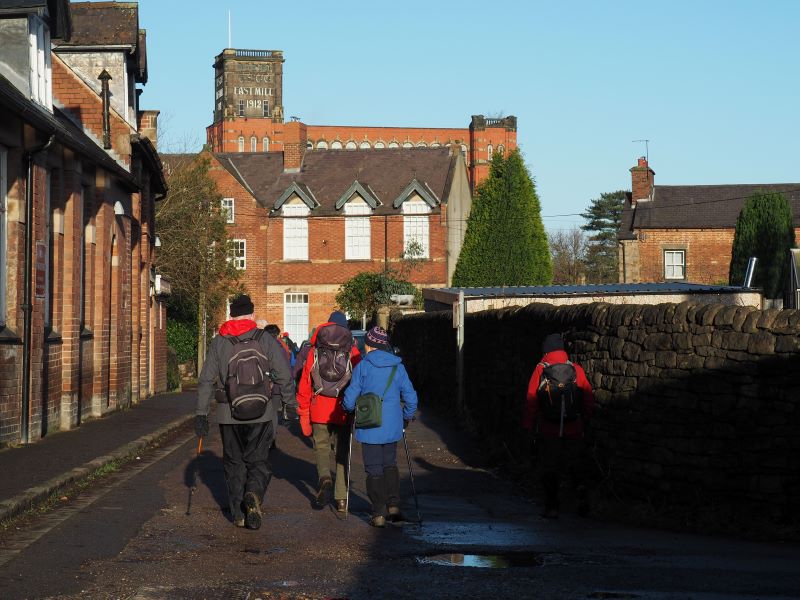
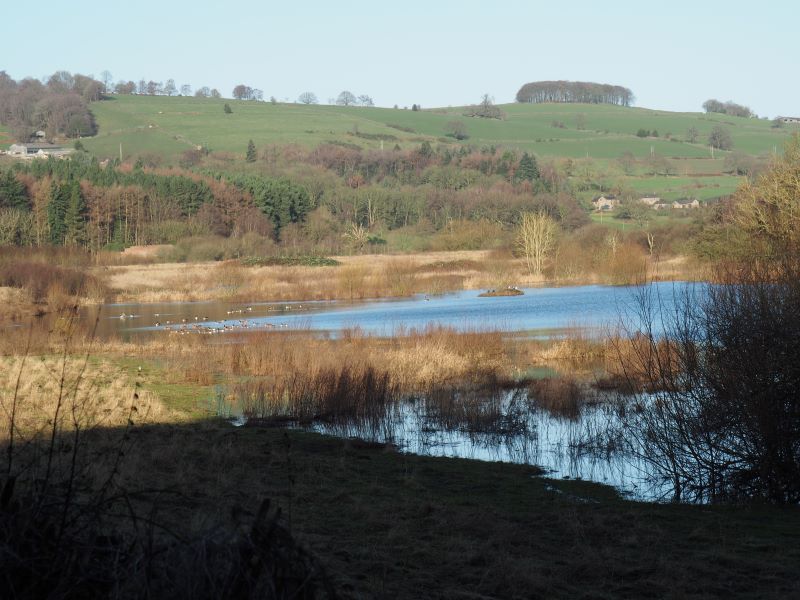
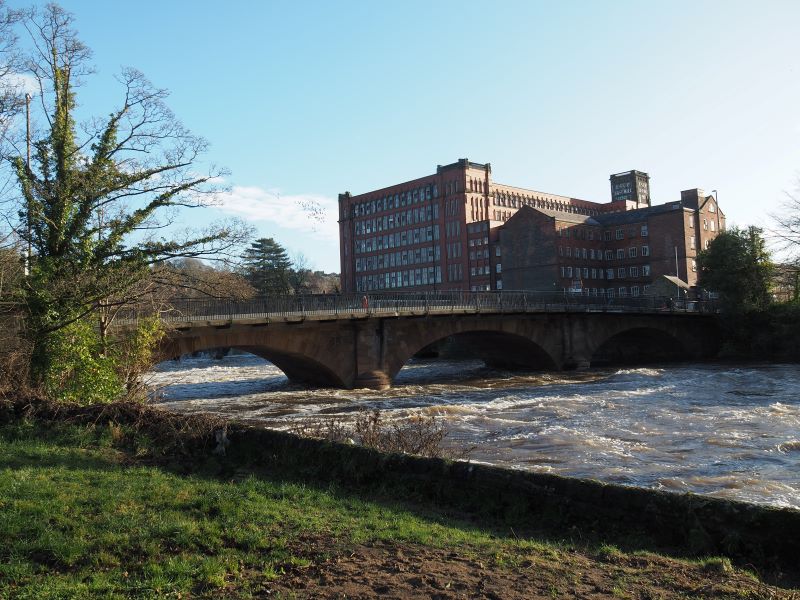
A fine clear day where we assembled in the Field Lane car park, firstly to hear the pre-walk words of advice and then as the clock approached ten thirty, we set off towards Field Lane, crossing over this to then follow the rail side path to Joseph Street, turning left into Cluster Road and on to The Triangle, here crossing over the A6 to gain Bridgefoot. We stopped on the bridge, above the River Derwent to view the raging waters below, standing there, feeling the raw power of nature flowing relentlessly onward, eventually flowing into the North Sea. We walked along Wyver Lane as far as the Nature Reserve and then doubled back along the fields, walking almost parallel to Wyver Lane and coming out at The Scotches, where John M. gave us a quick talk about the history of the buildings there. We now walked back, towards town, crossing over the A 517 and then to follow the northern bank of the Derwent, stopping just around the first bend for a coffee break. Onward now, as far as the Sewer Works, we experienced quite a bit of slippery mud along this stretch. We re-crossed over the river once more, into Goods Road and up a small path to cross over the A6 near to Prospect Drive. A steepish climb now, up a paved path to cross over Holbrook Road and then very steeply up Hillside to exit onto Cow Hill. Some lovely views gained here, from the park towards the town. We walked nearly the width of the park turning sharply left to go down and cross over Coppice Brook. Here those had parked Coppice car park, left us and we continued on to go via Days Lane, Strutt Street, King Street and so back into the car park. Those who had booked a meal at the Lion Hotel divested their walking gear and made our way into the Hotel where we found others from the group who had not walked, ready and waiting. Twenty-four sat down for an excellent meal, finishing sometime before three. A great day in fine weather and extremely good company, thanks to all, not least Lyn who had made all the arrangements for the meal.



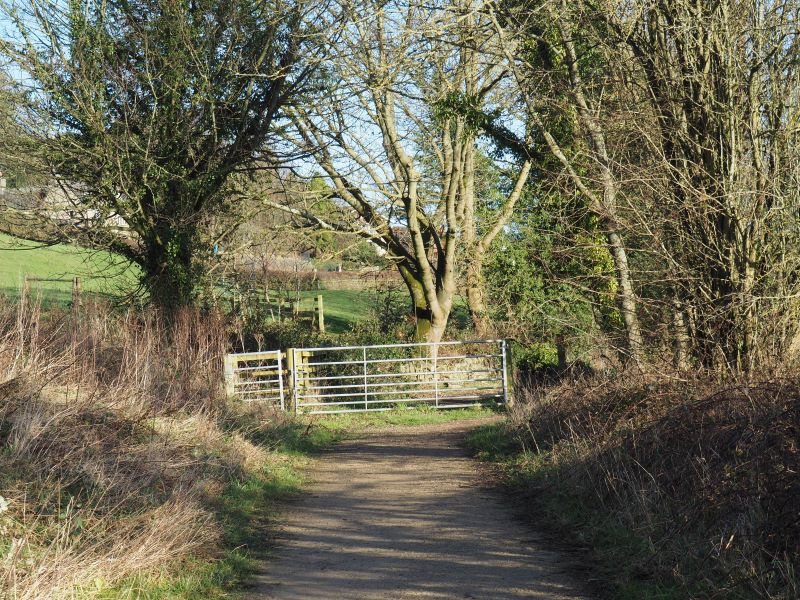


Pictures by John H-T